
16th week: Docker with multi-display and website to visualize 4 displays.
On this week, the objective was to make some progress with the website, and we did!
Here we can see the different .html files I’ve created for the full website.
Each html uses an individual i-frame with localhost:608X as website to show. Also, the “page_combo.html” uses framesets to divide the final page in 4 rectangles, one for each “pageX.html”.
This is the actual webpage (without launching the docker).

To launch the docker, we need a lot of terminals (the commands to follow are here). One problem I faced was that the docker just displayed in one port, but that was because the docker run command was bad. We need to run the docker and tell him all the ports that he will have access to. So the command is like this:
# Before (BAD)
sudo docker run --rm -it -p 6080:6080 turtlebot2

# Now (CORRECT)
sudo docker run --rm -it -p 6080:6080 -p 6081:6081 -p 6082:6082 -p 6083:6083  turtlebot2
With this, we can use each display in a different port and use a different visualizer (noVNC) for each display.
Once inside the docker, we need to launch Xserver, X11Vnc and noVNC for each display/port.
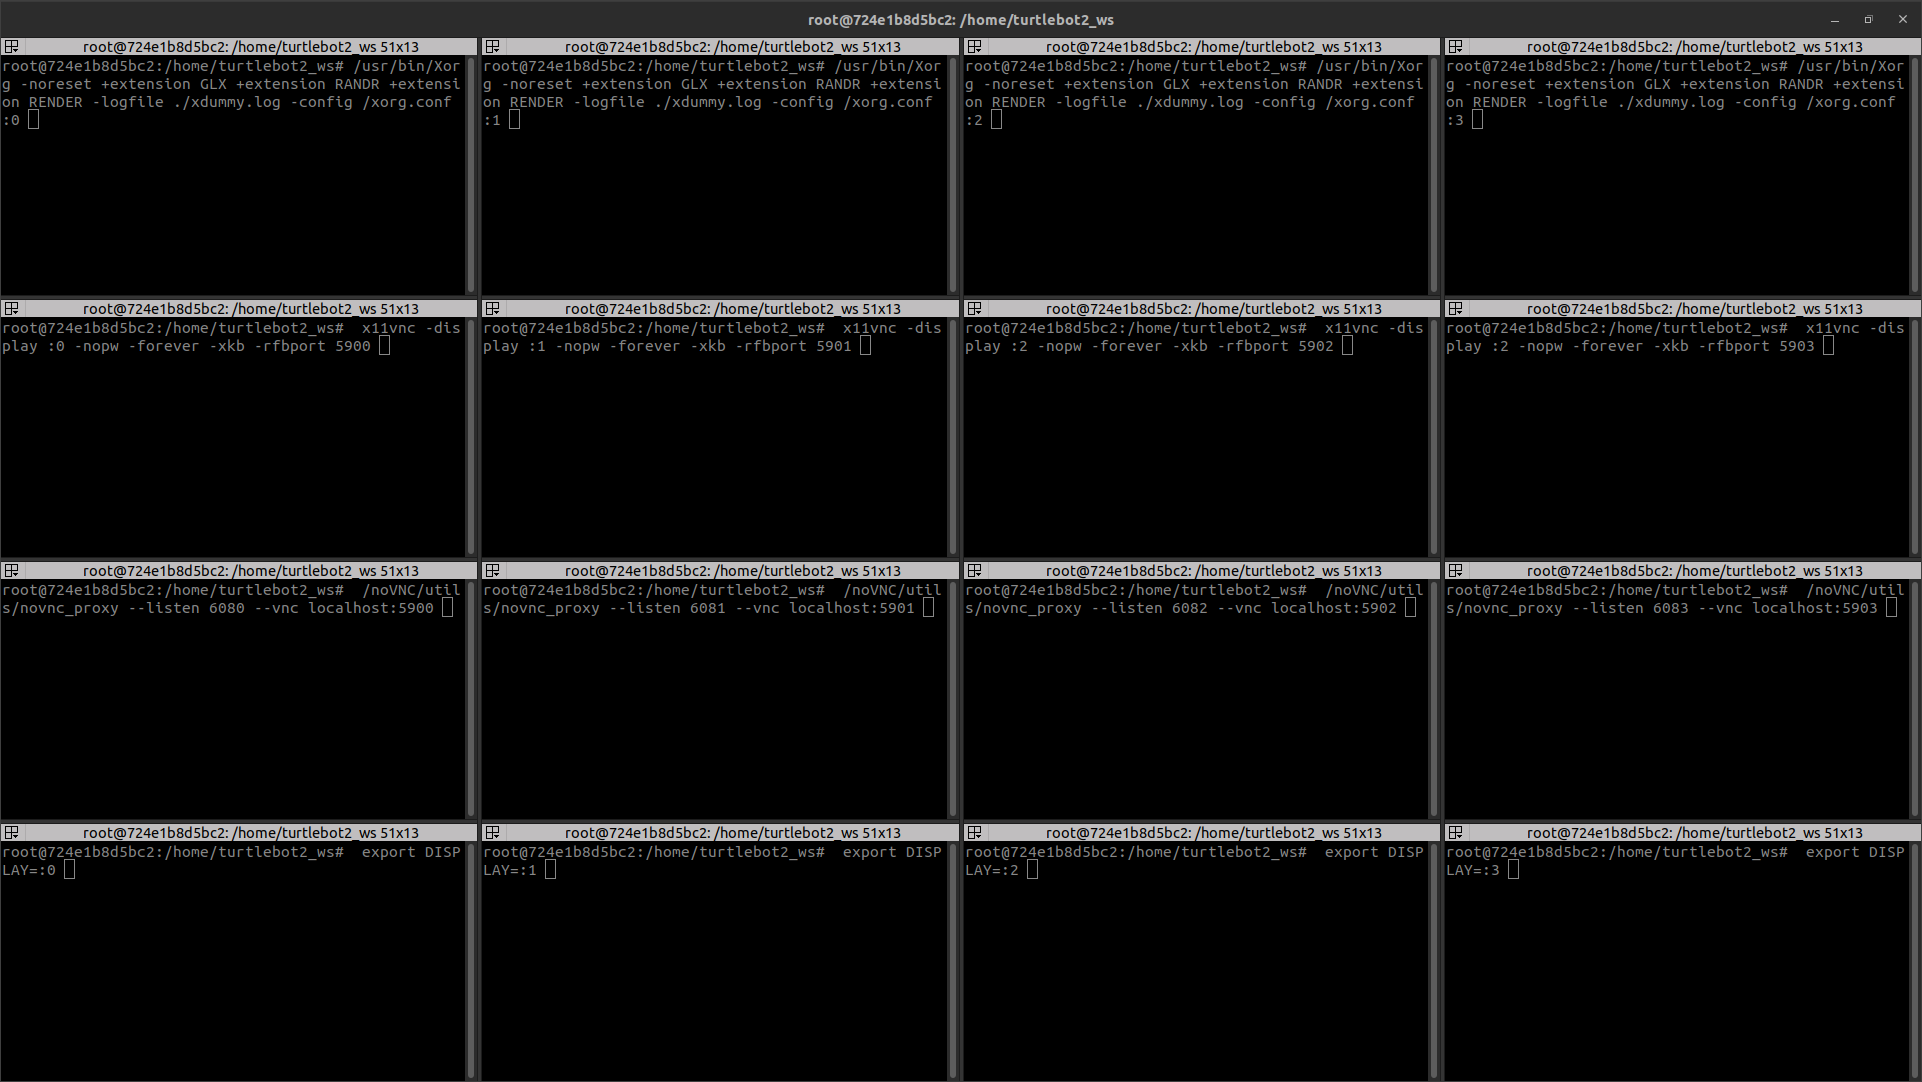
Here is a video showing the docker working with the multi-display setting:
Next things to do will be resize the windows inside the display to the size of the area shown in the multi-display html and test some simple VisualCircuit programs with the docker!